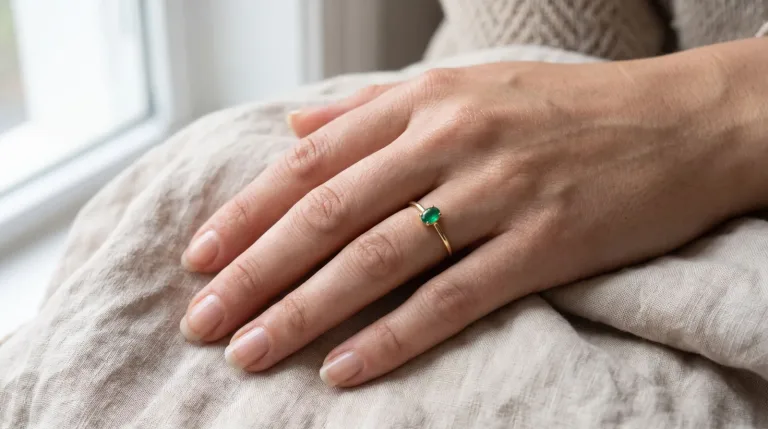
How to use AI Jewelry Try-On
Photograph the hand, ear, neck or wrist
Under Your image, add a sharp, well-lit photo of the spot where the piece will sit. That can be a hand with the fingers slightly apart or an ear with the hair tucked back. A bare neckline or a wrist with the sleeve pulled up works too. JPG, PNG or WebP up to 10 MB.
Add the piece and confirm consent
Under Jewelry photo, upload the product on a plain background, sharp and well lit. Keep the stones and clasp in view. A close shot of one piece works better than several pieces in one photo. Check the consent box: the button stays off until both photos are in and consent is given.
Pick the piece and the format
Under Style preset, choose Ring, Earrings, Necklace, Bracelet or Watch. It fills Notes (optional), where you can change a detail, such as "on the index finger". Under Format, Portrait 4:5 fits a product page, Square 1:1 a marketplace grid and Portrait 9:16 a story.
Compare it with the product photo
Press "Put it on" and check the metal color, stone count, setting and any engraving against your product photo. Fine details can soften. If they do, reshoot the piece closer and sharper instead of adding notes. The result shows the look, not the ring size or the fit.
What a real job costs here
Runs on this page cost 38 credits. At the best pack rate that is about $0.4044.
| Pack | Credits | Runs with Nano Banana Pro |
|---|---|---|
| $9 | 750 | 19 |
| $19 | 1,650 | 43 |
| $39 | 3,500 | 92 |
| $79 | 7,300 | 192 |
| $149 | 14,000 | 368 |
What this model is good at and where it stops
Nano Banana Pro: Hero images where realism decides the result. Photoreal skin and texture. Watch out for: higher rate than everyday image models.
On-model shots without booking a model
A hand model, a stylist and a macro lens are a big spend for a small jewelry brand. Here, one photo of a hand, ear or neck and one product photo give you an on-model shot. Use the same hand photo for a whole collection and the set looks consistent. Shoppers can do the same with their own hand to preview a style before they buy.
Shoot the piece the way it should look
The model copies what it can see. Photograph the piece on a plain background, sharp and well lit. Get close enough that the stones, prongs and clasp are clear. Avoid strong color casts: a warm lamp turns white gold yellow, and the result keeps that tint. A clean cut-out from the Background Remover works too.
What it shows, and what it does not
It shows the look: how a style sits on a hand or where a chain falls. You also see how a dial reads on a wrist. It measures nothing. There is no ring sizing, and the scale is an estimate from the photo, not a measurement. Small engravings, hallmarks and fine stone facets can soften, so check them against the product photo before you publish.
Frequently asked questions
Can it tell me my ring size?
No. It places the ring at a believable scale for the finger in the photo, but it measures nothing. Use a ring sizer or ask a jeweler for the size.
Will the stones and engraving stay exact?
Every preset asks to keep the design, metal color and stones exactly as they are. Fine engravings, logos and tiny facets can still soften or change, so compare the result with the product photo. A closer, sharper product photo helps more than notes.
Whose photos can I use?
Your own, or photos of someone who has agreed to the edit. The consent box is required because a real person is shown. For shop listings, use photos from your own shoots or licensed images.
What does Nano Banana Pro cost here?
38 credits per image. The exact total appears above the button before you generate.
